Tuesday, February 9, 2021

Dying Cedar Bark

My Red Dye bath.

In this picture on the left, I am set up outside to dye cedar bark. With a large Stove pot, and an electric element to keep the dye bath Hot.

Dying  cedar bark into various colours, has been done since antiquity. Traditionally, natural dye's were used, such as the red Alder for red, and old man's beard for yellow, etc.

Dye
In this workshop I am using TinTex fabric dye, that can be purchased, at just about any Grocery or Dollar Store for about a dollar or two. It is a chemical fabric dye, but the process of dying whether using natural or synthetic dyes is much the same. Tintex and Rit are both septic friendly.

Mordant
Alum or Aluminum Potassium Sulphate will be used for the mordant.  The mordant allows for the color to stick to the cedar bark. It is available as a spice, although expensive. Here in Vancouver you can mail-order it also online from Maiwa or https://maiwa.com/collections/alum or get it from the store. Much cheaper. Good for berry dyes too, like salal berry, etc.
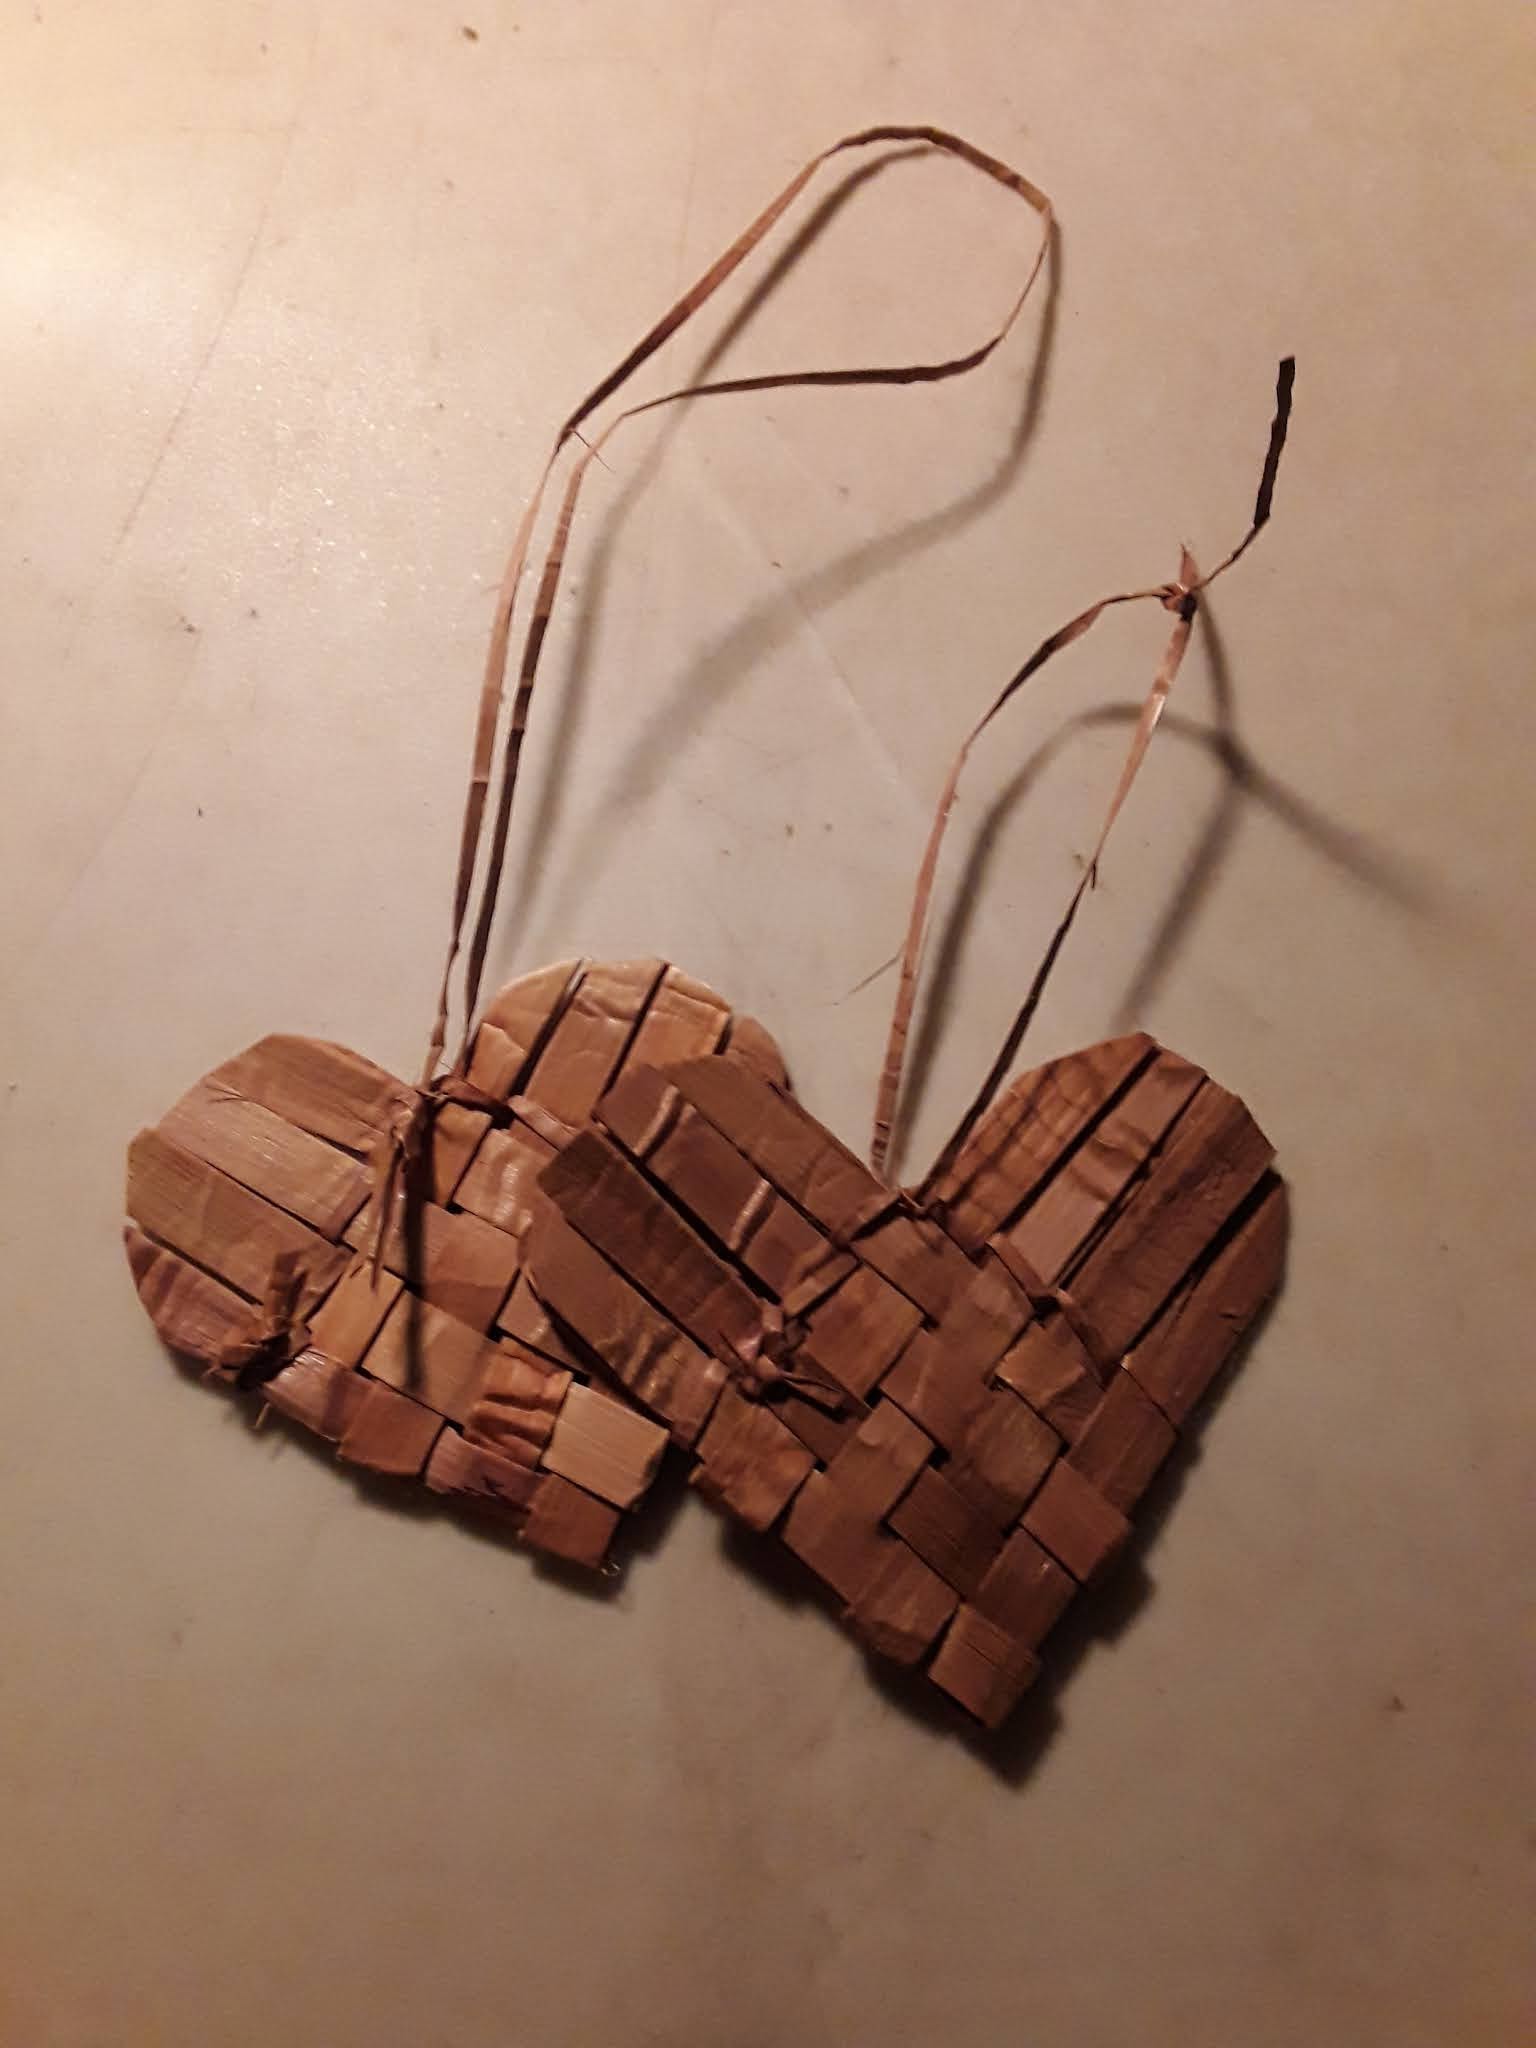
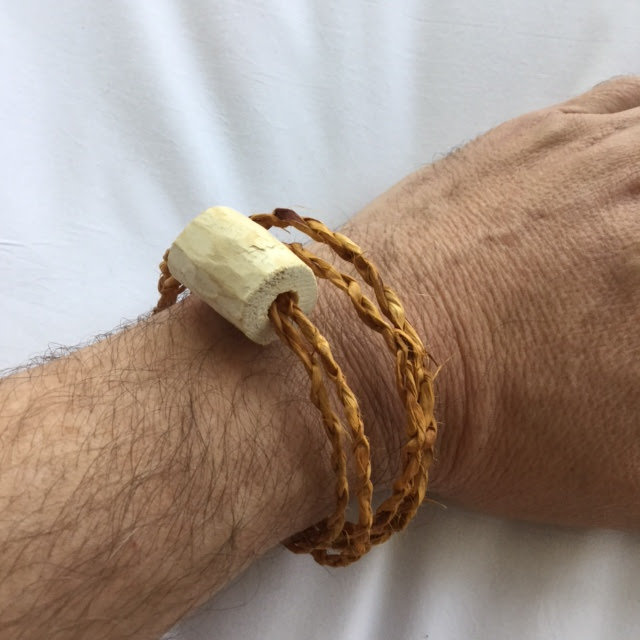
Cedar Bark
We will be dying cedar bark, but the process is similar to dying other fibers. Cut and prepare your bark well in advance, and best to use when near dried. The dry bark will soak up the water and Alum that has been dissolved in the water, which will hold the color.

Materials per person
- 2 oz of cut cedar bark 1/8” or 1/4” wide
- 32g of Alum
- 32g of Tintex Red or Rit Black Fabric Dye
- 1, Quart Canning Jar (1 litre)

Additional Tools.
- kettle of boiling water
- cloth dish towels
- tongs or wooden spoon
- sink with running water


To Begin
Make sure the Quart Canning Jar is free from cracks and is clean. No need to sterilize, but it does need to be clean. The jar you use for red dying, can be reused for the same color. Label each jar with the dye color it will be used for. Use only red dye in the red dye labelled jar.

Wear Gloves. Add in the jar, first add in the alum salt, the fabric dye powder and then the cut & prepared strips of inner cedar bark.

Next boil some water and pour into jar over the cedar bark. add enough water to cover the cedar bark. If bark starts to float add a little more water, until you can push the bark under (use a wooden spoon).

Put on window sill and agitate bath every 5-10 minutes, for about 30 minutes and then remove bark from red dye bath.

Put in bucket or sink and rinse with cold water. 

Let drip dry for an hour and then begin to bundle and dry completely. 

Dye bath can be reused. More alum may be needed for subsequent batches (about 1 teaspoon).

Notes:
- Wear gloves to avoid dying your skin too
- Do not leave bark wet in plastic bag
- Always dry your bark over night.

Wednesday, January 20, 2021

The Woven Cedar Bark Heart

How to weave a cedar bark heart.

Hearts are common now-a-days, and although not a traditional symbol among first-nations in the past, they are becoming more and more frequently seen around February along with cedar roses and the like.


Objective:
This project is a practical introduction to cedar bark weaving for anyone with no weaving experience. Participants will also be able to understand some of the basic vocabulary of weaving.

• Weaving - The process of forming a basket, or similar object, by interlacing strands of bark.
• Strand - a weaver with no warp. Several strands can be twisted together to make rope.
• Warp - also known as spokes, or the skeleton of the basket.
• Weft - a length of material which interlaces warps. Also used for lashing.
• Twining - the oldest of all weaving techniques, employing two or more wefts that intertwine each other between warps.
• Checkerboard twill - where the wefts and warps are both flat and of similar strength that appears to look like a checkerboard at its plainest.

Difficulty Level: Easy
Approximate Workshop Time Period: 45 - 60 minutes a period.

Things You'll Need:

Materials per person
- 8 to 10 strips of cedar bark 1/2" wide by 10" long

Tools:
- scissors
- rulers
- buckets of water
- cloth towels

Notes:
- Soak cedar bark 15 minutes prior to class
- dried out bark breaks and frays, keep wet
- Do not leave bark wet in plastic bag
- Always dry your heart & bark overnight

Detailed instructions and Video coming soon.


Extended Lesson
This project can be expanded to challenge the creativity of the participants, by making smaller versions for earrings, larger versions for a heart pouch, and so on. 

Monday, January 11, 2021

How to Make a Cedar Bark Rope Bracelet

 Rope is one of the first technologies given to humans. Human's could make rope before they knew how to do pottery, invented the wheel, smelted iron. Weaving is a skill, gifted to humans, long before any other technology.

During the activity, the history and preparing of the cedar bark used will be discussed. Making a simple rope should make it much clearer and enable people to understand how important making rope is.

A common question: What is rope used for? Camping, clothes lines, fishing nets, basket ball hoops, jump rope, and many more including friendship bracelets.

Objective:
This project is a practical introduction to cedar bark weaving for anyone with no weaving experience. Participants will also be able to understand the basic vocabulary of weaving.

• Weaving — The process of forming a basket, or in this project, a rope bracelet by interlacing strands of bark.
• Strand — a weaver with no warp. Several strands can be twisted together to make rope.


Difficulty Level: Easy
Approximate Workshop Time Period: 45 - 60 minutes a period.


Things You'll Need:

Materials per person
- a 3 foot by 1/4” wide strip of cedar bark
- a Devil's Club bead

Tools:
- scissors
- rulers
- buckets of water
- cloth towels

Notes:
- Soak cedar bark 15 minutes prior to class
- dried out bark breaks and frays, keep wet
- Do not leave bark wet in plastic bag
- Always dry your bracelet & bark overnight

What you will learn in this project
How to twist cedar bark into twine or rope for use in various projects including a friendship bracelet. Cedar bark rope is made by rolling or twisting two strands (or one folded in half) in one direction causing twisted strands to ply together. Stones or clothes pins tied at end of bark strands aid in repeatedly twisting strands.

Step One:
Both Strands are twisted separately to the left (or both to the right, describe the z twist and s twist)

Step Two:
New strands are added in by laying in new strand behind short strand, and both are twisted together as one... rope making then continued... Cut off tags when rope is finished.

Overhand Knot
To make the overhand knot at the end of your twisted rope: first make a turn and then insert the end through the turn as pictured.

Devil's Club Bead
Harvested around the same time as Cedar Bark, Devil Club is also called Wild Ginger in Alaska. And the inner (green) bark used for various medicinal purposes. What's left over is the stem cut to various lengths, which has a pith can that be hollowed out and used as a bead.

Extended Lesson
This project can be expanded to challenge the creativity of the participants, by extending the length of the rope by inserting or adding in more strands. A longer length can be used as a necklace, or several lengths can be braided together to make a belt. If you're really motivated, the rope can be used to make a fishing net or basketball hoop. Learning how to tie different knots using the rope you made is also a valuable learning exercise. Try also making a three strand or three ply rope.

Saturday, January 5, 2019

Preparing your Bark for Weaving

Cedar bark, there is so much history found in its uses. This video demonstrates a quick, easy method to prepare your bark for weaving. Today we use a leather cutting tool, called the Table Top Leather Lace Cutter, or a Jerry Stripper.

After soaking the raw cedar bark strip for 3 hours or so, cut into 1 inch width strips.

Then split bark into two lengths, before cutting again into 1/8" , 1/4" , or 1/2" inch strips.

Dry cut strips, by bundling into small rolls for later weaving if not used all at once.


How to weave Reindeer Ornaments

At the end of October, and Starting in November, is the time many people start weaving ornaments for the Winter Ceremonies. This small project is a great gift and fund raiser for the season.

Start with 2 pieces of 1/4" width cedar bark - 16" long, and 3 pieces (for the legs and tail) 10" short.

Essentially you are braiding, starting with the tail.

Starts out as a 7 strand braid for the body, a 5 strand for the neck, 3 strand for the head, and 4 strand for the antlers.


Ending a Hat

There are various ways to end a hat, of them is in the inside, to "hide" the seam, and make the edge look seamless.

This video shows how to end a hat from the inside. Finishing on the outside or top side of the hat is similar. The first warp that you fold over should be looped so that you can weave the wefts through it at the end of the row.


 https://www.youtube.com/watch?v=JCA0E2YopQc

Extending/Inserting Wefts and Warps

Throughout weaving your project, whether it be a hat or basket, you will need to insert or add in, some say extend, the wefts or warps which seems to be getting shorter.

Overlapping the elements (either warp or weft) takes a little patience, and over time with practice, your joining will look seamless.


Inserting a Warp

While Twinning a small hat, this video demonstrates a way to add in a warp.


Inserting/Extending a Weft

As you are twinning, you may need to insert a weft here or there. In this video I demonstrate how to insert a short weft or a long weft.